 Elsewhere:
I love the cleanliness and flexibility of vector illustration. But sometimes, it just feels… too perfect. The grit and texture that come with raw sketches usually get lost translation.
Today, I'll show you how to easily bring your creations to life with a crayon effect, using Adobe Illustrator only.
Let's get started! 🚀

Step 1
Open a copy of your original vector illustration in Adobe Illustrator. (Wouldn't want any accident happening, right? 😘)
Step 2
Open the Brushes panel (Window > Brushes) and check Show Art Brushes in the panel menu.
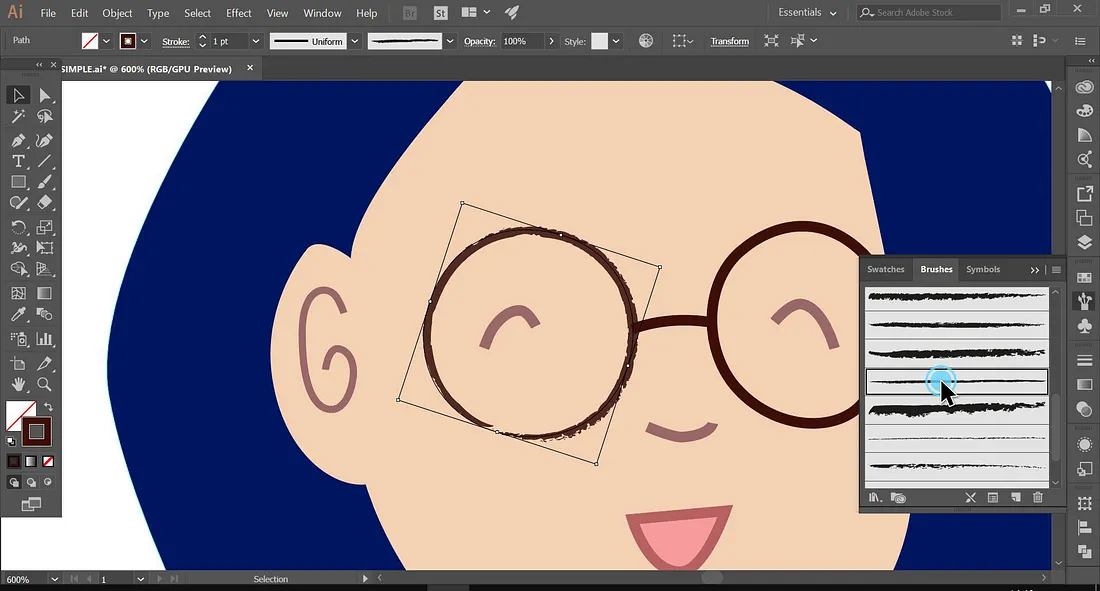
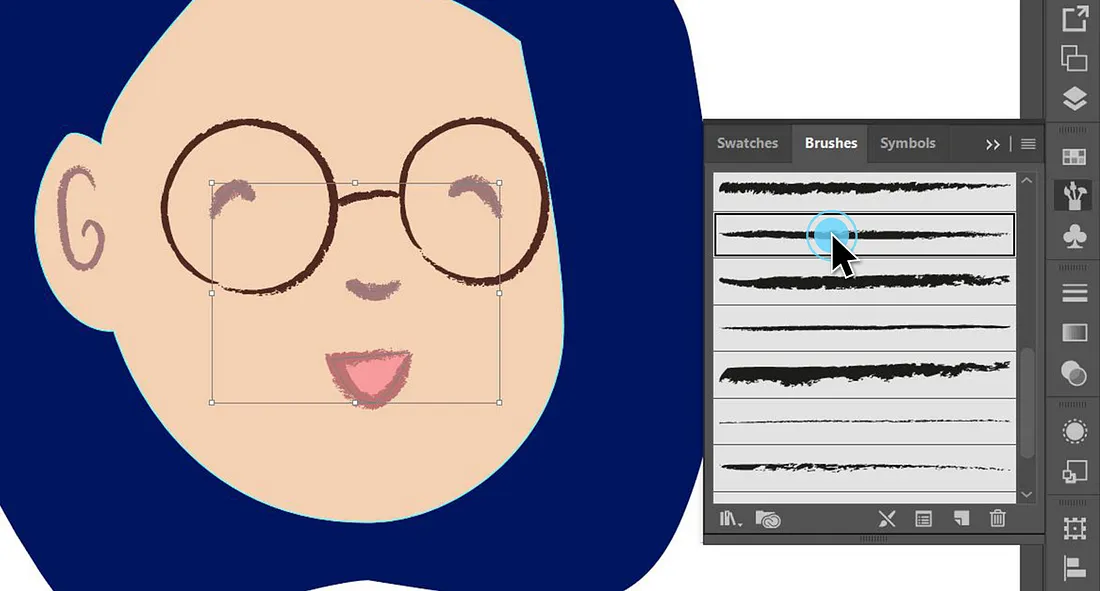
Select the stroke you would like to convert into a crayon line, scroll down the brushes and choose your favorite one. (So many brushes! 🖌)
Step 3
In this example, I'd like to add a brush stroke around the face to define it better. To do so, begin by making a copy of the face shape layer (here called "skin").
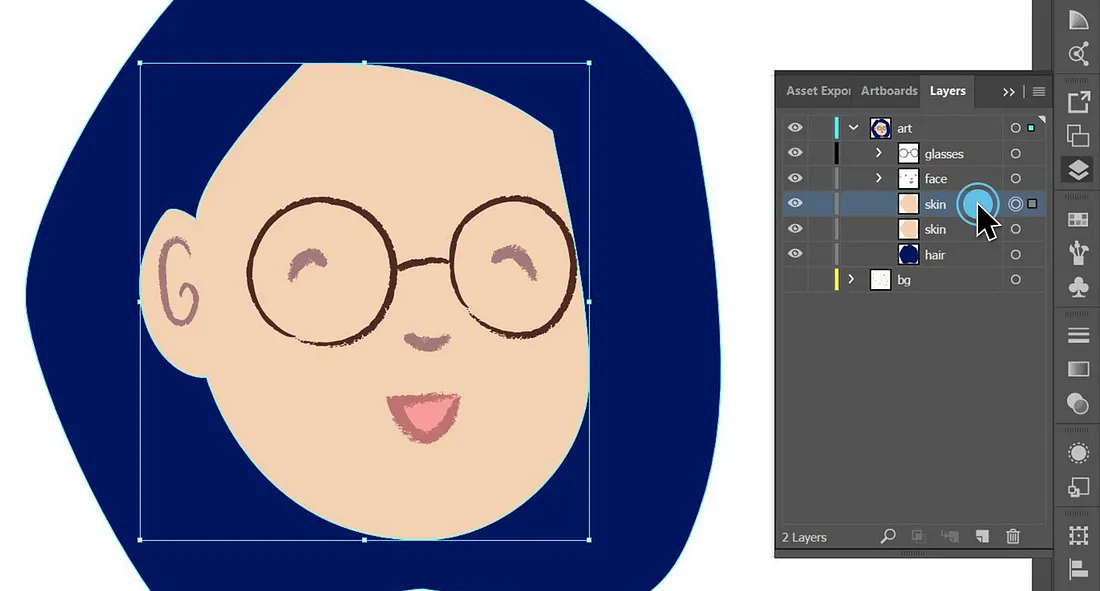
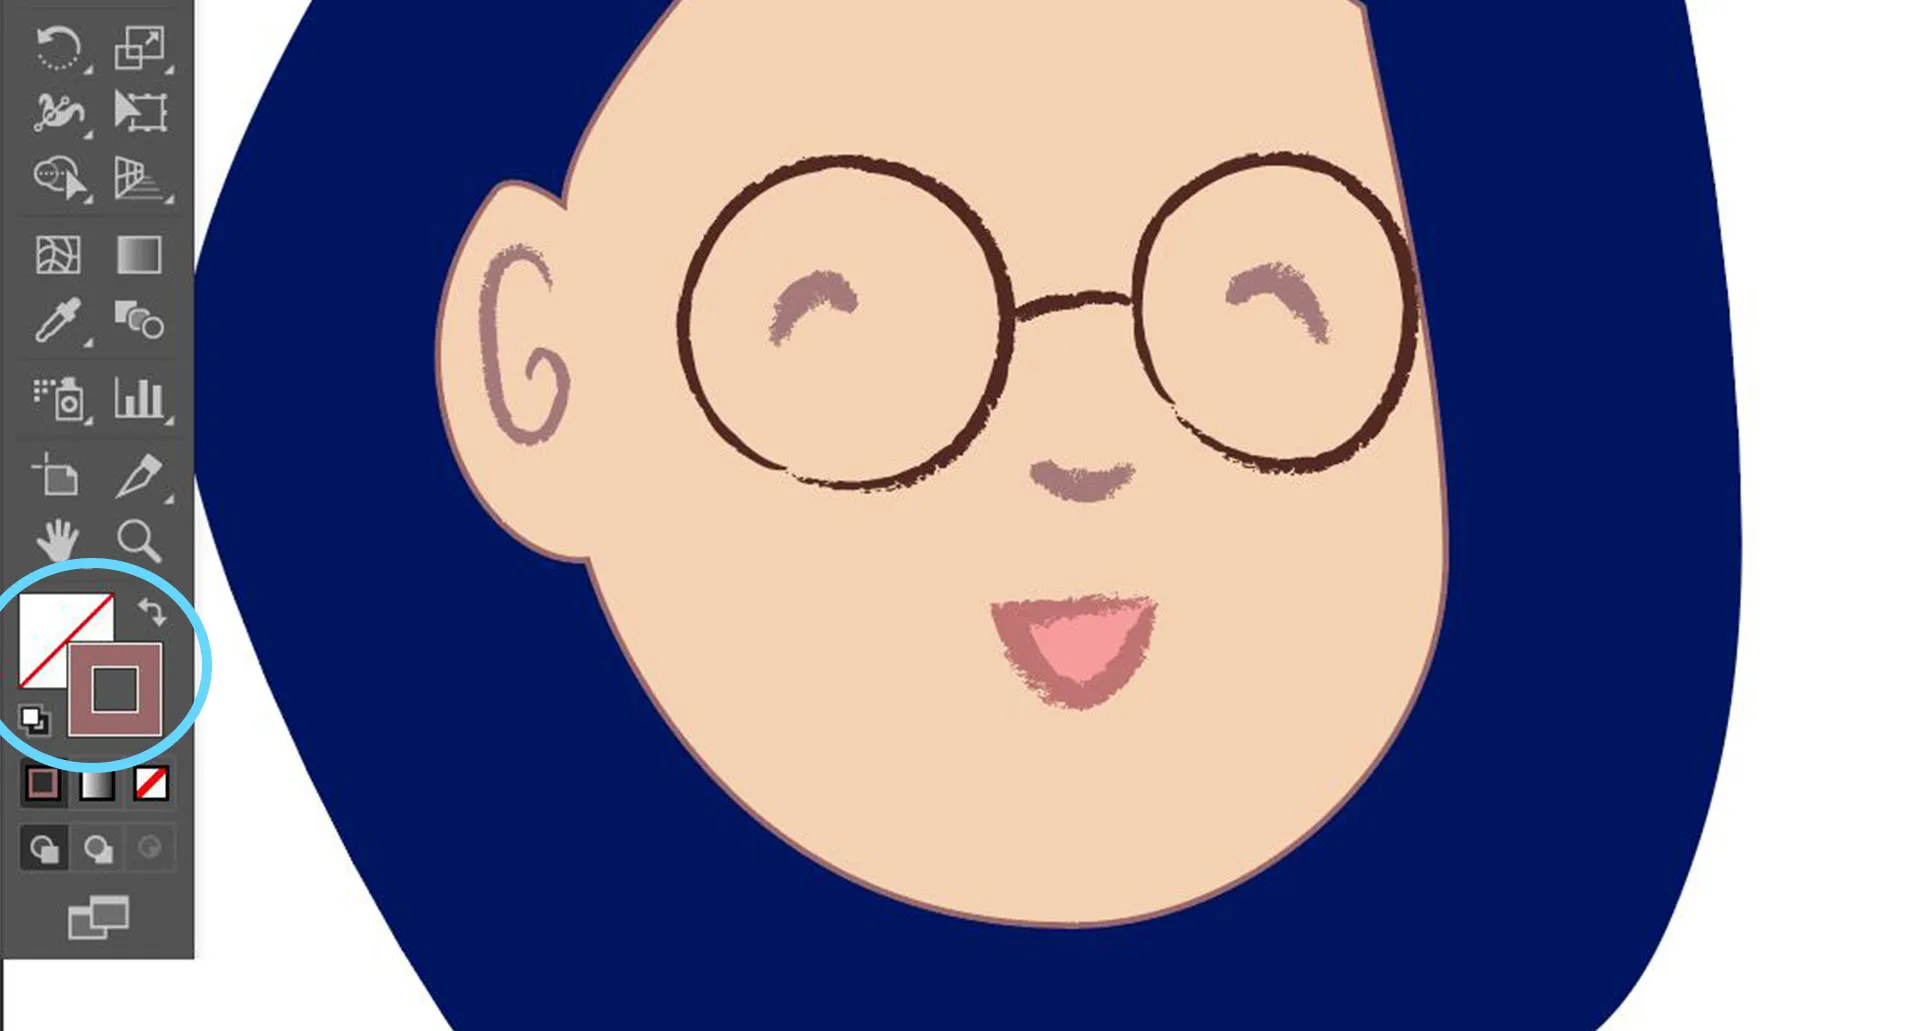
With the layer selected, convert the shape into a stroke by swapping the Fill and Stroke swatches (Shift + X). You now have your outlining stroke! (Yaay 🎉)
Feel free to edit the color and line weight to see it better.
Step 4 (Optional)
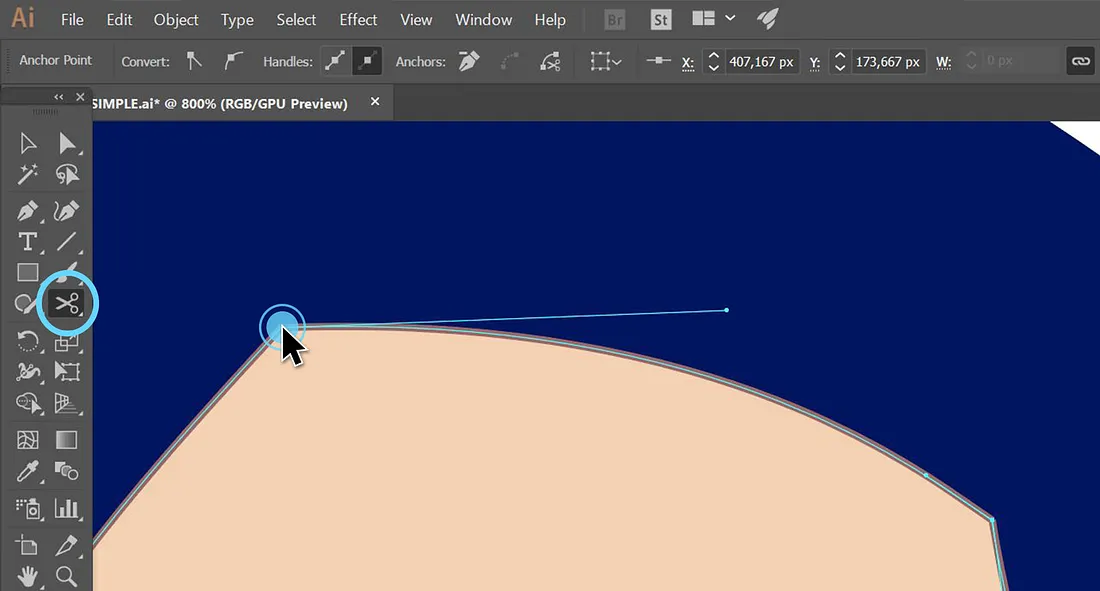
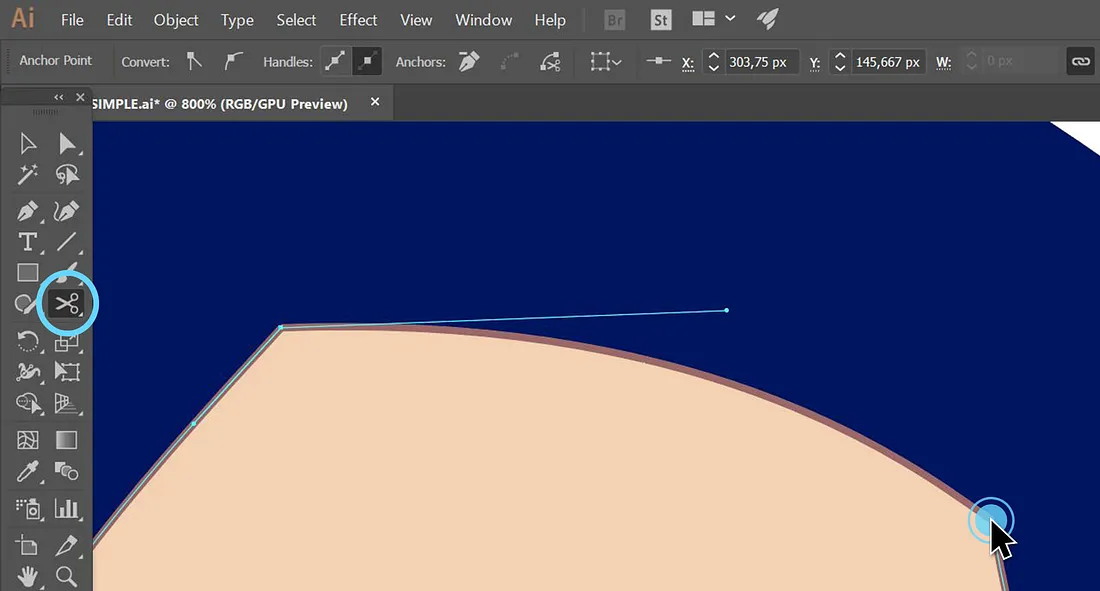
Let's say you don't want your newly created stroke to completely outline the face shape (because that would just look weird). Let's see how we can manage to have a clear hairline at the top with ✂
Use the Scissors tool (C) to cut two endpoints on your stroke to delete that unwanted upper stroke.
Once you have your final stroke, convert it as previously done (Step 2) into a brush stroke.
Step 5
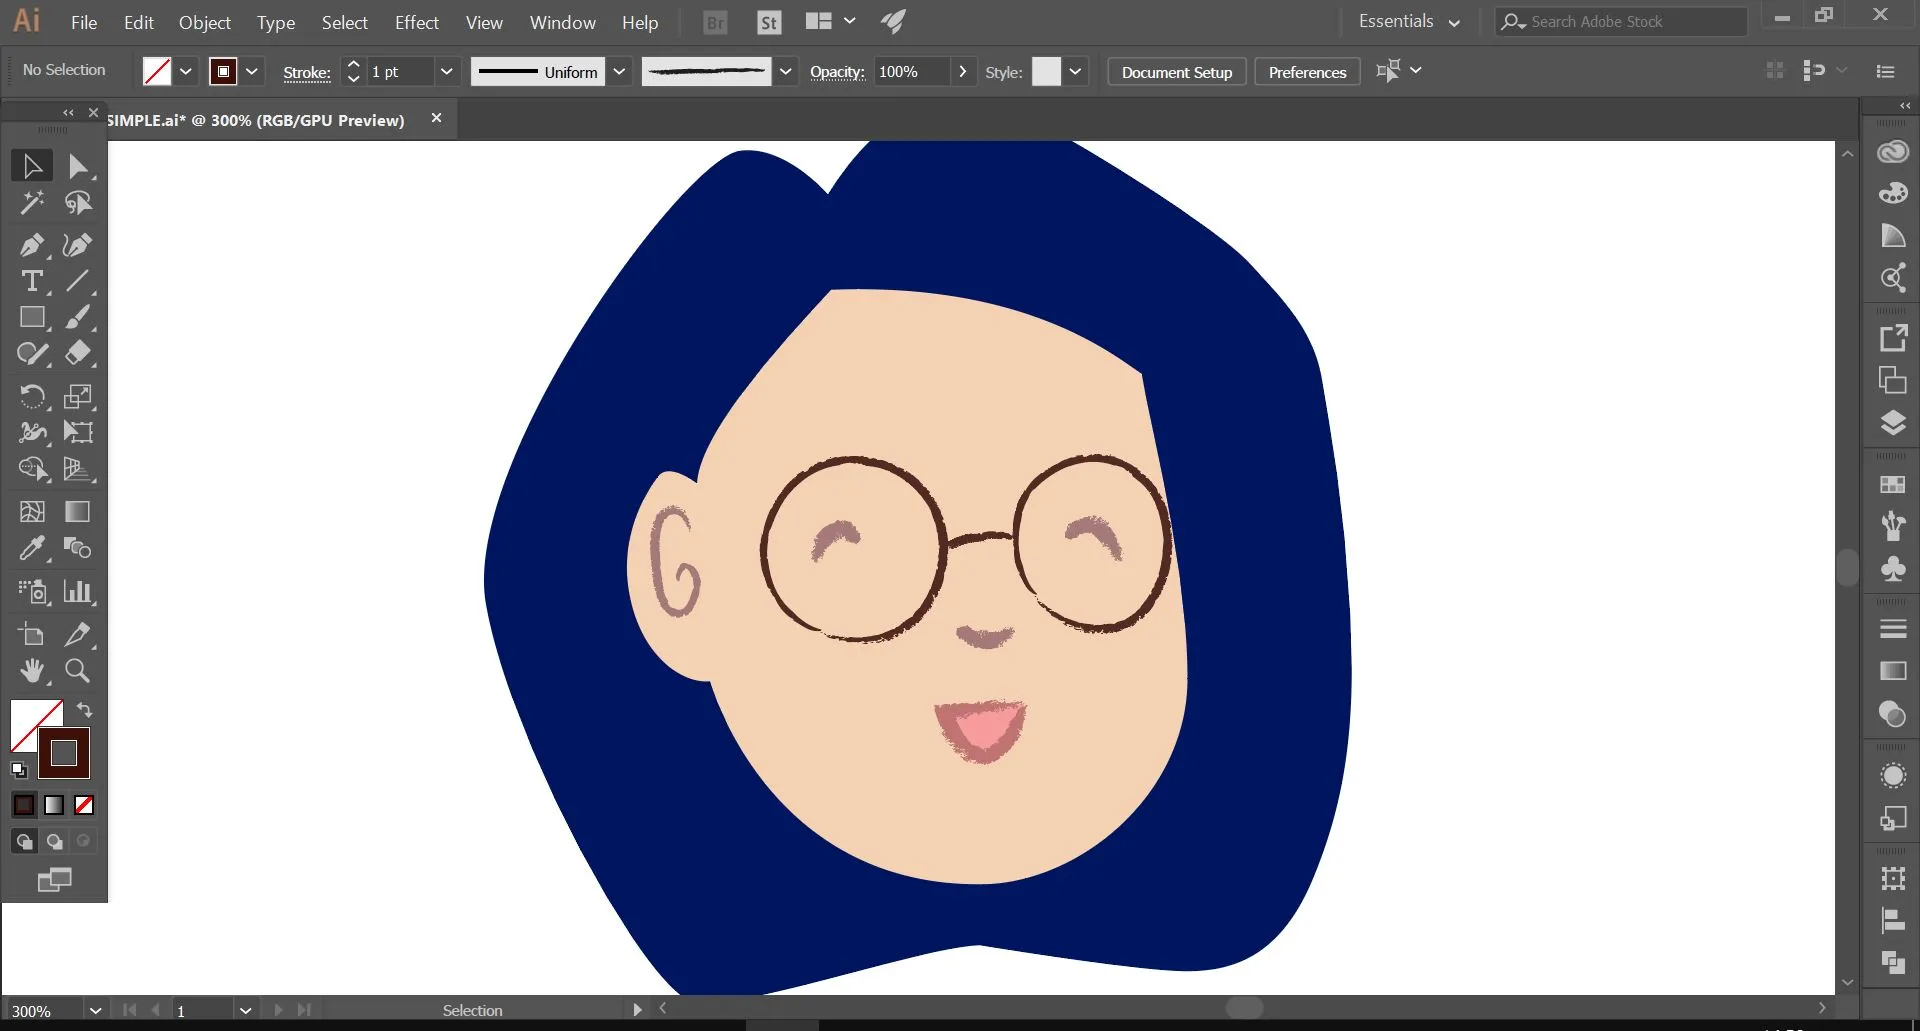
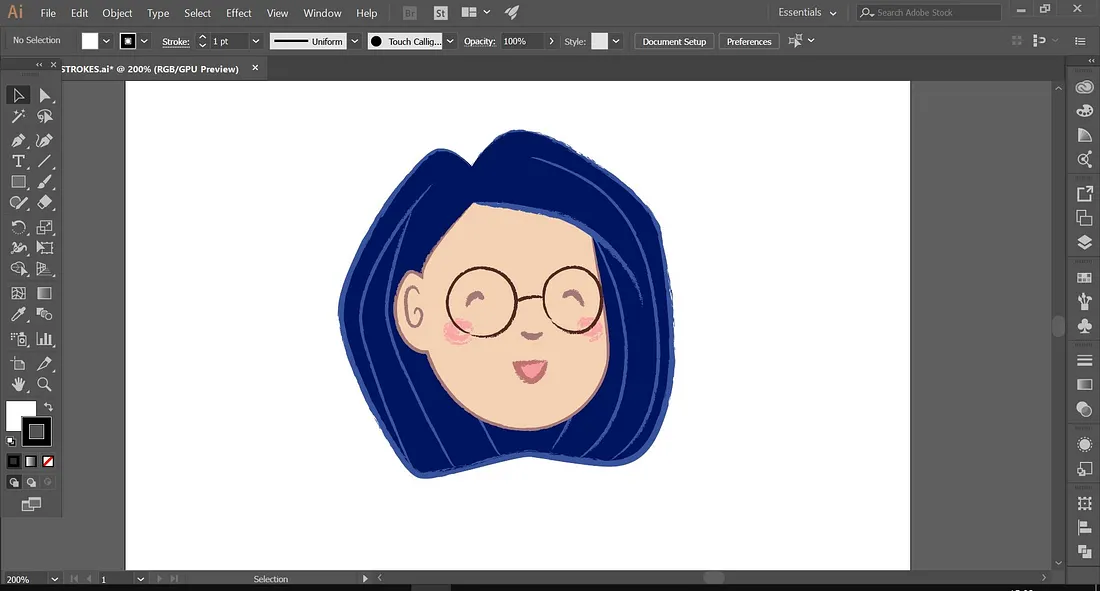
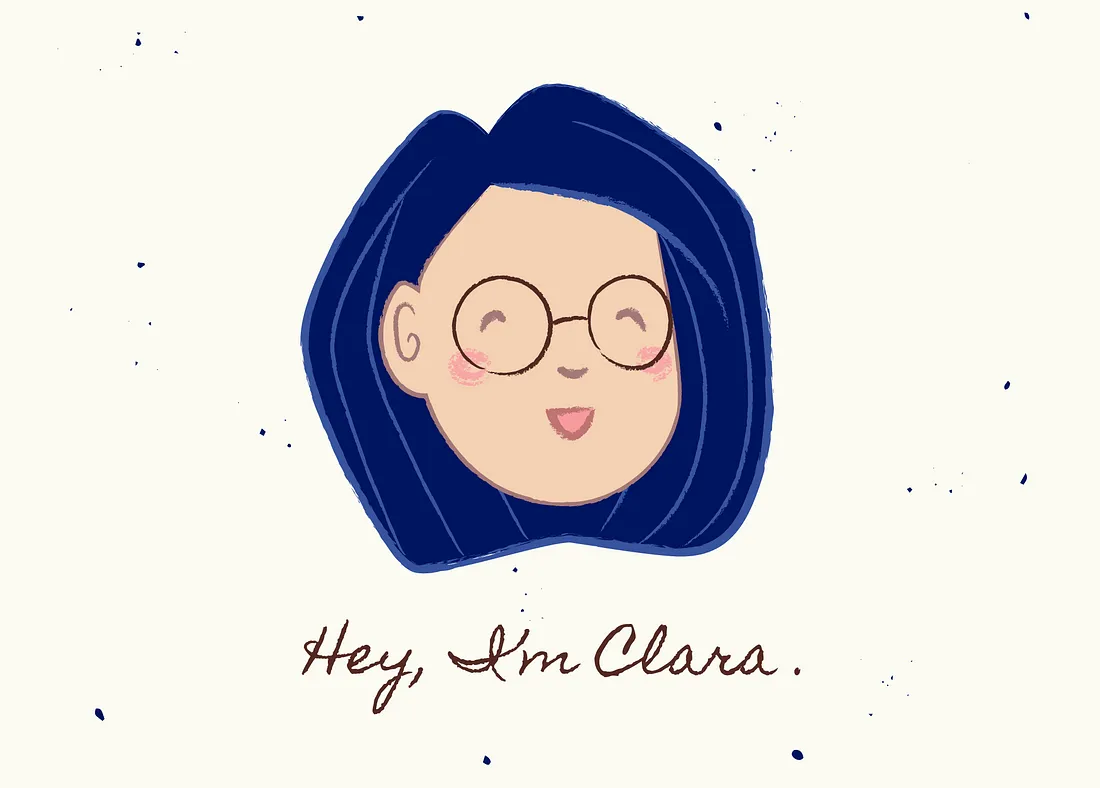
Add some details to your illustration to bring it to life. Here, I've added definition to the hair and pink to the cheeks. And I got this flawless self-portrait as a result 💁♀️
Step 6
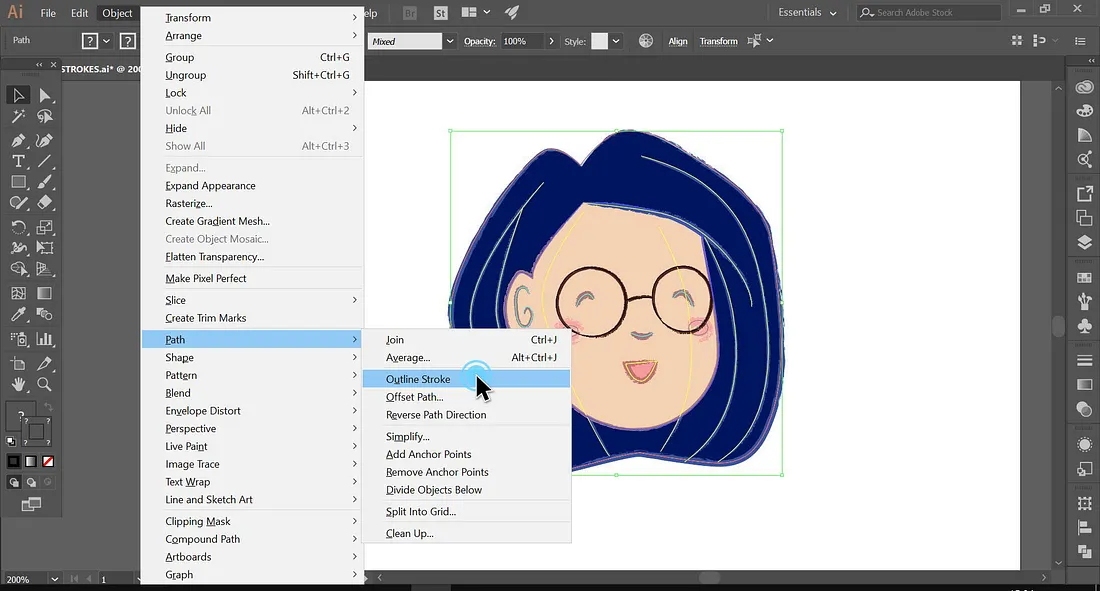
Before celebrating the creation of your masterpiece, convert your entire illustration to an outline (Object > Path > Outline Stroke).
This will make sure that all the proportions stay the same, even if you scale your illustration up or down. (Yep, I'd rather stay the same size everywhere…)
And ta-da! 🎉
Leave a comment
Leave a comment through webmentions or contact me by email.